YouTube Live Streaming Guide:- Going live on YouTube is one of the most powerful ways to connect with your audience in real time. Unlike pre-recorded videos, live streaming allows you to interact, answer questions instantly, and build trust without heavy editing. Whether you are a student, a teacher, a gamer, or a small business owner, YouTube Live gives you a stage to share your message with the world.
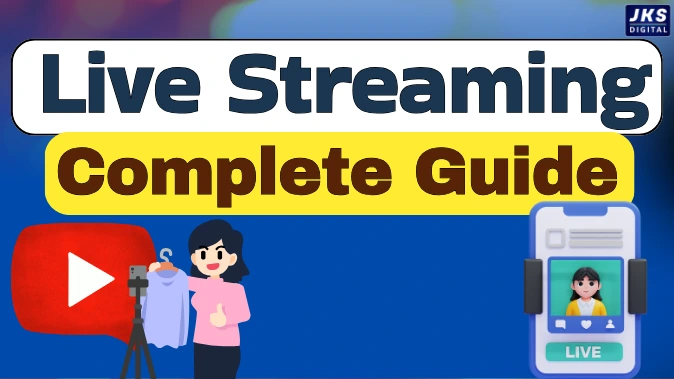
The common fear for beginners is that they need advanced equipment or thousands of subscribers before they can even start. The good news is, that’s not true. With the right setup and a few smart tools, you can go live on YouTube from your mobile, laptop, or PC—even if you don’t have 1,000 subscribers.
This guide will walk you through everything step by step, covering preparation, setup, tools, and strategies to make your live stream engaging and professional.
Why Live Streaming on YouTube Matters
Before learning the steps, it’s important to first understand why live streaming matters.
- Instant connection with viewers – Live sessions allow people to feel like they are a part of your journey, not just a passive audience.
- Trust and credibility – When you go live, there’s no heavy editing or retakes. Audiences see the real you, and that builds authenticity.
- Better engagement – Through comments, live chat, and reactions, you can keep your audience involved in real time.
- Growth potential – YouTube tends to push live content higher in recommendations, which means better visibility for your channel.
- Business opportunities – From webinars and workshops to product launches and tutorials, live streaming opens the door to both community building and monetization.
What You Need Before Going Live
Streaming on YouTube doesn’t mean you need a fancy studio setup. However, a few basics will help you look and sound professional:
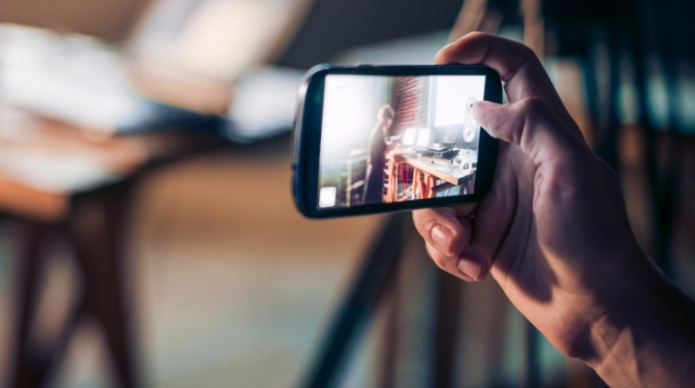
- Stable internet connection – Live streaming eats bandwidth, so make sure you have at least 4–5 Mbps upload speed.
- Decent camera – Your smartphone camera or a simple HD webcam is usually good enough to start.
- Clear audio – Should always be your priority, because viewers can overlook average video quality but will quickly leave if the sound is poor. Consider using wired earphones or an affordable external mic.
- Lighting – Natural light works well. If you’re streaming indoors, a ring light or LED lamp makes a big difference.
- Quiet environment – Try to stream in a space where background noise is minimal.
How to Live Stream on Mobile
If you are using a smartphone, YouTube makes it easy. But here’s the catch: by default, you need 1,000 subscribers to stream directly from the YouTube app. Don’t worry, there’s a workaround that we’ll cover shortly.

Standard Method (For channels with 1,000+ subscribers)
- Open the YouTube app on your phone.
- Tap the “+” icon at the bottom of the screen.
- Select Go Live.
- Add the basic details like your stream’s title, description, privacy option, and a custom thumbnail.
- Adjust camera orientation (portrait or landscape).
- Hit Go Live and start streaming.
Without 1,000 Subscribers
For creators under the 1,000-subscriber mark, you can still go live by using third-party apps like:
- Streamlabs
- Prism Live Studio
- Larix Broadcaster
These apps connect with YouTube through RTMP (Real-Time Messaging Protocol). They allow you to bypass the subscriber limitation and stream directly from your phone.
How to Live Stream on Laptop or PC
Streaming from a laptop or desktop gives you more control, especially if you want to share your screen, add overlays, or manage multiple scenes.
Using the YouTube Website
- Log in to YouTube Studio from your browser.
- Press the ‘Create’ icon, which looks like a camera with a plus sign.
- Select Go Live.
- You will see two options: Stream (using software) or Webcam.
- Webcam is the easiest: just use your laptop’s built-in camera and mic.
- Stream allows more advanced setups with software like OBS.
- Enter all necessary information for your stream, including its title, description, category, privacy settings, and custom thumbnail.
- Click Go Live.
Using Streaming Software (Best for professionals)
The most popular free option is OBS Studio (Open Broadcaster Software).
- Download and install OBS Studio.
- Link your YouTube channel using the Stream Key (found in YouTube Studio > Live Dashboard).
- Set up different scenes (camera, screen share, images, or overlays).
- Press Start Streaming in OBS, and your live feed will appear on YouTube.
Other alternatives: StreamYard, vMix, and XSplit.
Going Live Without 1,000 Subscribers on PC
Like mobile, if your channel doesn’t have 1,000 subscribers, you can’t go live directly from the YouTube mobile app. But on a PC or laptop, there’s no such restriction. You can stream anytime using a webcam or software like OBS.
This is a huge opportunity for new creators because you can start building your live audience early, even before hitting 1,000 subs.
Tips to Make Your Live Stream Engaging
Just pressing the “Go Live” button isn’t enough. To keep people watching and returning, you need to make your stream engaging.
- Plan ahead – Outline your key points. Don’t script every word, but know your flow.
- Catchy titles and thumbnails – A clear title and custom thumbnail improve click-through rates.
- Start strong – The first 60 seconds decide if viewers will stay. Begin with a hook.
- Interact actively – Read comments, respond to viewers, and use their names. It makes them feel valued.
- Use visuals – Share your screen, show slides, or use graphics to avoid monotony.
- Promote before going live – Share your stream link on social media, WhatsApp, or email.
- Call to action – Ask viewers to like, subscribe, or visit your website during the stream.
- Consistency – The more often you go live, the faster your audience grows.
Common Mistakes to Avoid
- Ignoring the chat – If you don’t engage, viewers leave quickly.
- Poor audio quality – Audiences will forgive average video, but not unclear audio.
- Streaming without testing – Always do a private test stream before going live publicly.
- Long pauses – Keep the energy up; dead air drives people away.
- Overcomplicating setup – Start simple. As you grow, add more professional tools.
Growing Your Channel Through Live Streaming
Live streaming isn’t just about being live. It’s also about using the recording later. YouTube automatically saves your live sessions as videos. That means:
- You get long-form content that continues to attract views even after the live ends.
- You can edit and repurpose the live into shorter clips for Shorts or social media.
- You can analyze viewer retention to improve your next session.
Many creators actually grow faster through live streaming because it allows frequent, unedited content that still drives engagement.
Read Also:- Ghibli AI ChatGPT Tutorial 2025: Create AI Magic Easily
Final Thoughts
You don’t need fancy gear, thousands of subscribers, or a studio setup to start live streaming on YouTube. All you need is a smartphone or computer, a stable internet connection, and the courage to hit “Go Live.”
If you are waiting for the “perfect time” to start, it may never come. Your audience wants to hear from you now. Whether you’re teaching, entertaining, or selling, YouTube Live gives you a direct channel to reach people in real time.
Start simple, focus on authenticity, and improve with every stream. Over time, you’ll not only become more confident but also build a loyal audience that values you for who you are.
So, don’t hold back. Pick your device—mobile, laptop, or PC—and go live today.

